Adobe Photoshop is the ultimate tool for graphic designers, photographers, and digital artists worldwide. Whether you’re a beginner just starting your creative journey or a seasoned professional looking to refine your skills, there’s always something new and exciting to learn within Photoshop’s vast capabilities. In this comprehensive guide, we’ll explore essential tips, provide step-by-step tutorials, and offer troubleshooting advice to help you truly master this powerful software. Specifically, we’ll dive deep into a Photoshop roof texture tutorial, showing you how to create stunningly realistic surfaces that elevate your digital art, architectural visualizations, or game design projects. Beyond textures, we’ll also clarify the fundamental difference between general image editing and Photoshop’s specialized features, and offer solutions to common workflow challenges. Let’s begin our immersive journey into creating lifelike digital environments!
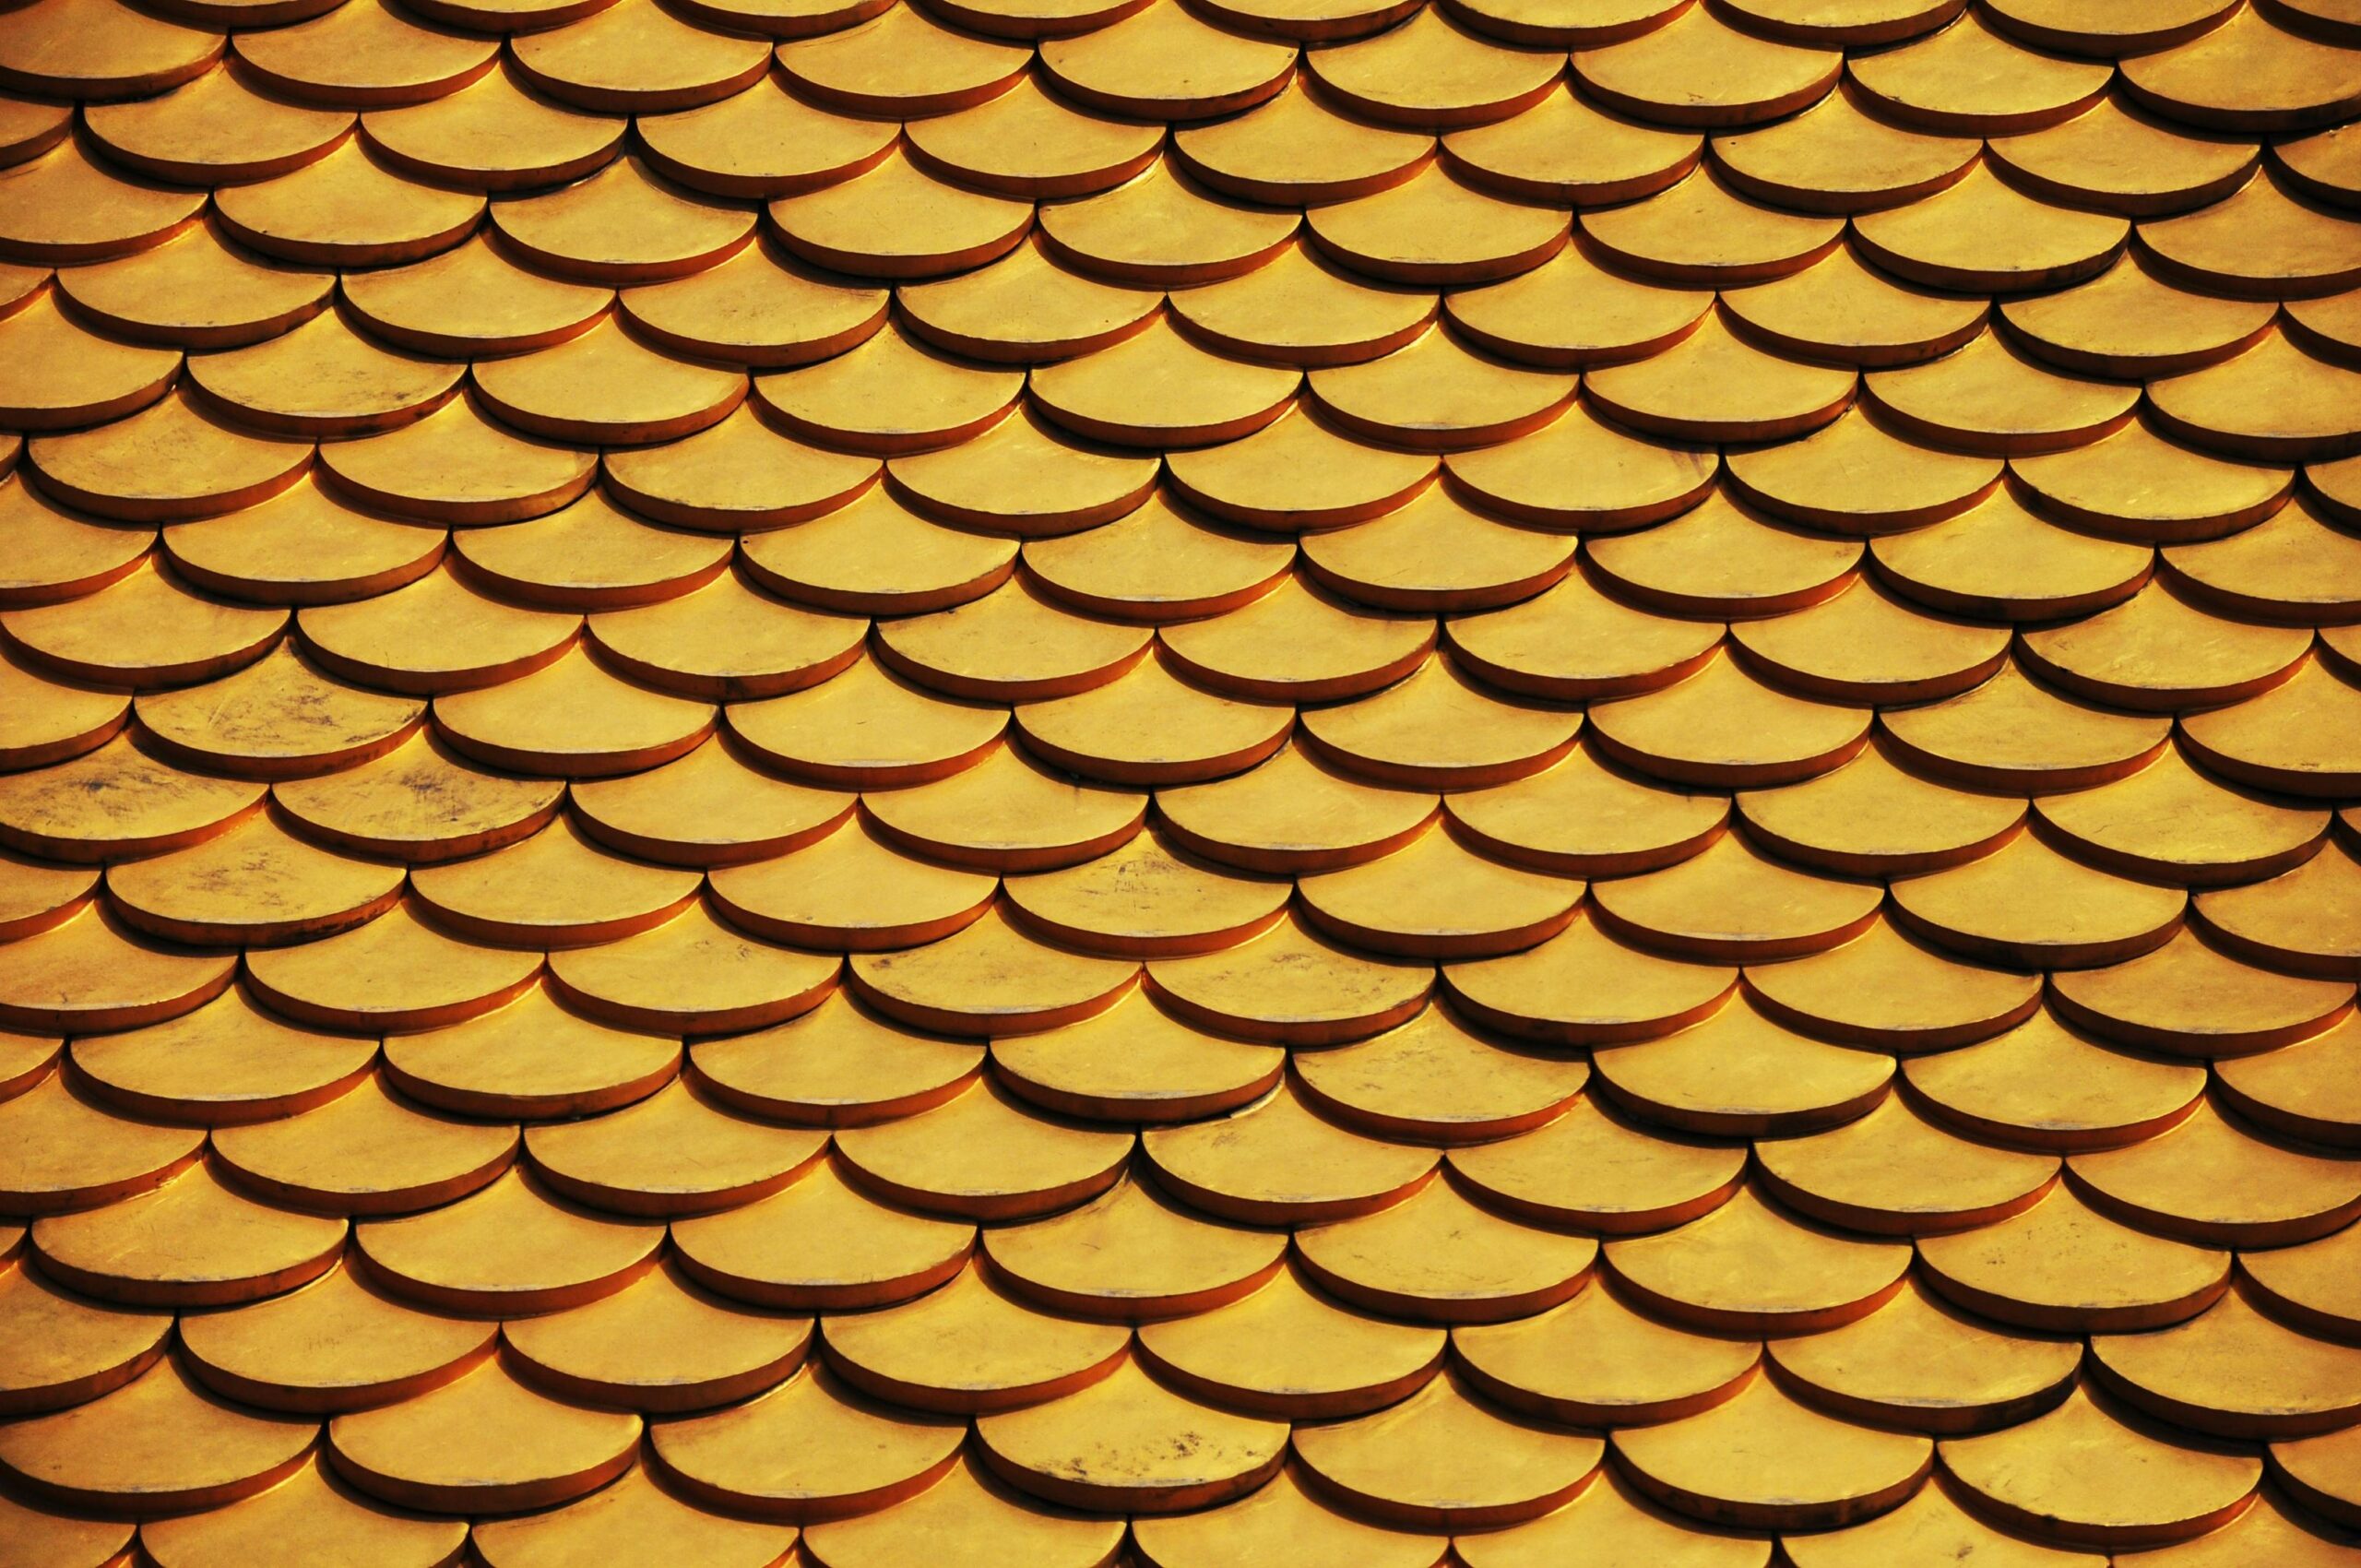
1. Photoshop Roof Texture Tutorial: Create Realistic Textures from Scratch
Creating realistic textures is an absolutely crucial skill for designers working on architectural visuals, environmental art for games, or even complex digital paintings. A well-executed Photoshop roof texture tutorial can indeed help you achieve remarkably stunning and believable results. Here’s a detailed, step-by-step guide to crafting a compelling roof texture in Photoshop, focusing on a non-destructive workflow and essential techniques:
Step 1: Start with a High-Quality Base Image
First and foremost, your foundation is key. Begin by finding a high-resolution, well-lit image of a roof or a similar textured surface that aligns with the material you want to simulate (e.g., terracotta tiles, asphalt shingles, corrugated metal, slate). Websites like Unsplash, Pexels, or dedicated texture repositories like Texture.com (which often require attribution or have specific licenses) offer excellent free and paid resources. Once you have your ideal image, open it in Photoshop. Immediately, duplicate the background layer (Cmd+J / Ctrl+J). This simple but vital step preserves your original image, allowing for non-destructive editing and providing a fallback if needed.
Step 2: Isolate and Refine with a Layer Mask
Next, you need to isolate the specific area of the roof you intend to texture. Utilize Photoshop’s precision selection tools. The Pen Tool is ideal for creating crisp, accurate paths around complex shapes like rooflines. Alternatively, for simpler or more organic shapes, the Lasso Tool (especially the Polygonal or Magnetic Lasso) can be quicker. After making your precise selection, click the “Add Layer Mask” icon at the bottom of the Layers panel. This action will effectively hide the unselected areas, leaving only your roof isolated on its layer. Working with layer masks is a fundamental aspect of non-destructive editing; it allows you to refine your selection at any time without permanently altering the pixels.
Step 3: Apply Filters for Enhanced Texture and Detail
Now, it’s time to start building up the texture. Filters are powerful tools that can simulate surface irregularities and material properties. Begin by going to Filter > Noise > Add Noise. Apply a small amount of uniform or Gaussian noise (e.g., 2-5%) to create a subtle grainy texture, mimicking the imperfections found in real-world materials. Subsequently, you might use Filter > Blur > Gaussian Blur sparingly (e.g., 0.5-1.0 pixels) to slightly soften the noise. This makes it look more natural and less like digital artifacts. Consider exploring other filters too. For instance, Filter > Sharpen > Unsharp Mask can selectively enhance details, making the texture crisper. Experimentation with different filter combinations is encouraged, as this can dramatically alter the perceived quality of your roof texture.
Step 4: Adjust Lighting and Shadows for Depth and Realism
Lighting and shadows are paramount for adding depth and dimension to your roof texture. They define form and make flat images appear three-dimensional. Use the Dodge Tool (which lightens pixels) to subtly highlight areas where you envision light hitting the roof’s surface. Think about how sunlight would fall on individual shingles or tiles, creating brighter edges. Conversely, use the Burn Tool (which darkens pixels) to deepen shadows in crevices, under eaves, or where dirt might accumulate. Adjust the exposure settings for both tools carefully (e.g., 5-20%) to build up effects gradually. The goal here is to create subtle variations in light and dark that suggest contours and volume, making your Photoshop roof texture tutorial outcome truly believable.
Step 5: Add Final Details and Blend Seamlessly
Finally, it’s time to add those intricate details that bring your roof texture to life. Use custom brushes to paint in specific elements like moss, rust stains, cracks, or weathered edges. Many free and paid brush sets are available online for this purpose. Experiment with various blending modes for these detail layers. For example, “Overlay” or “Soft Light” can seamlessly integrate elements like moss by interacting with the underlying texture’s luminosity. “Multiply” works well for adding darker details like cracks or grime. Adjust the opacity of these layers to fine-tune the effect. This technique, when mastered, is perfect for creating realistic textures for 3D models, architectural renderings, or even standalone digital paintings. If you’re relatively new to Photoshop, this comprehensive Photoshop roof texture tutorial serves as a fantastic way to explore its advanced features and understand how layers, masks, and filters combine to create sophisticated results.
2. Beyond Roofs: Mastering General Texture Techniques in Photoshop
While our focus has been on a Photoshop roof texture tutorial, the principles of texture creation extend far beyond architectural surfaces. Understanding general texture techniques is crucial for any digital artist. Let’s explore more broad applications, including screen tones and creating seamless patterns.
Photoshop Screen Tones: Adding Depth and Style
Screen tones are a classic technique widely used in comic books, manga, and graphic novels to add shading, texture, and visual interest, often mimicking halftone dots from traditional printing. With Photoshop, you can easily create and apply screen tones to your designs, giving them a retro, stylized, or gritty feel.
- Step 1: Create a New Layer: Begin by adding a blank layer over your existing design. This ensures non-destructive editing, meaning you can easily modify or remove the screen tone effect without altering your original artwork.
- Step 2: Apply a Pattern: Go to Layer > Layer Style > Pattern Overlay. From the pattern library, choose a halftone or dot pattern. Photoshop includes some basic ones, but you can also download numerous custom patterns online to achieve specific looks. Adjust the scale of the pattern to control the size of the dots or lines.
- Step 3: Adjust Opacity and Blending Mode: Next, lower the opacity of the pattern overlay or the entire layer to blend the screen tone with your design. Aim for a subtle effect that enhances your artwork rather than overpowering it. Experiment with different blending modes (e.g., “Overlay,” “Soft Light,” “Multiply”) to see how the screen tone interacts with the underlying colors and tones of your artwork.
- Step 4: Use Layer Masks for Precision: Finally, add a layer mask to the screen tone layer. Use a soft black brush on the mask to “paint out” areas where you don’t want the screen tone to appear, or use a gray brush to apply a semi-transparent effect. This allows for precise control and refinement of the effect, ensuring it complements your design perfectly.
This technique is remarkably versatile. Experiment with different patterns, opacities, and blending modes to achieve the desired effect, from subtle shading to dramatic comic book aesthetics.
Creating Seamless Textures and Patterns
For assets intended for 3D models or game environments, creating seamless textures is paramount. A seamless texture tiles perfectly without any visible edges, creating a continuous surface. While Photoshop doesn’t have a dedicated “make seamless” button, you can achieve this manually or with plugins:
- Offset Filter: Use Filter > Other > Offset to move the texture edges to the center. Then, meticulously use the Clone Stamp Tool and Healing Brush Tool to blend the seams in the middle of the image.
- Define Pattern: Once your texture is seamless, go to Edit > Define Pattern to save it. You can then use it with Pattern Overlay layer styles or the Pattern Stamp Tool.
Mastering these general texture techniques provides a strong foundation for any project where visual realism and detail are required.
3. Fundamental Photoshop Skills for 3D & Texture Work
Many beginners often ponder the difference between edit and Photoshop. While “edit” refers to the general process of making changes to an image (which can be done in almost any image editing software), Photoshop is a highly specialized, powerful application that allows for incredibly advanced and complex manipulations. Understanding this distinction is crucial, especially when tackling sophisticated tasks like a Photoshop roof texture tutorial.
Editing vs. Photoshop: Understanding the Distinction
- Editing: This broad term includes basic adjustments like cropping, resizing, rotating, and simple color correction (brightness, contrast, saturation). These fundamental tasks can be accomplished in a wide array of image editing software, ranging from free online tools like Canva or GIMP to built-in phone photo editors. They are about enhancing or correcting an existing image.
- Photoshop: On the other hand, Photoshop offers an unparalleled suite of advanced features. These include robust layer-based editing (allowing non-destructive workflows), an extensive library of filters for special effects, highly customizable brushes for digital painting and detailing, sophisticated selection tools, and powerful photo manipulation capabilities. It’s the industry standard for complex tasks like photo retouching, digital painting, graphic design, and the creation of intricate textures, as demonstrated in our Photoshop roof texture tutorial. Photoshop’s strength lies in its ability to combine multiple elements, create entirely new visuals, and offer pixel-level control.
Understanding this difference will help you choose the right tool for your specific needs. For simple edits, free tools might suffice. But for advanced projects, intricate texture creation, or professional-grade manipulations, Photoshop is truly unmatched in its capabilities and versatility.
The Power of Layers and Blending Modes for Texture Creation
At the core of Photoshop’s power is its layer-based editing system. This allows you to stack multiple images, textures, adjustment layers, and effects non-destructively. For texture work, layers are indispensable:
- Non-Destructive Workflow: Each element of your roof texture (base image, noise, lighting adjustments, moss details) can reside on its own layer. This means you can always go back and adjust one element without affecting the others.
- Blending Modes: This often-underestimated feature determines how pixels on one layer interact with pixels on the layers below it. Blending modes like “Overlay,” “Soft Light,” “Multiply,” “Screen,” and “Hard Light” are incredibly powerful for seamlessly integrating textures, adding realistic shadows, or applying color shifts, making them vital when you edit in 3D Affinity Designer or work on textures in Photoshop. Experiment with them to see how they transform the appearance of your textures.
- Smart Objects: Converting layers to Smart Objects allows you to apply transformations and filters non-destructively. This means you can scale, rotate, or blur a texture layer and always revert to its original state or edit the filter settings later, preserving pixel quality.
4. Optimizing Your Workflow for Complex Texture Work in Photoshop
Creating detailed textures, especially for elements like roofs that require subtle nuances, can be resource-intensive. Optimizing your Photoshop workflow is crucial for efficiency and performance.
Photoshop Generate Cloud GPU: Boost Your Workflow
Photoshop’s generate cloud GPU feature (more accurately described as “Use Graphics Processor” in Preferences and leveraging cloud services for certain heavy tasks via Creative Cloud) is a game-changer for designers working on resource-intensive projects. This feature utilizes your computer’s graphics processing unit (GPU) and, for some specific cloud-enabled features, cloud-based processing to significantly enhance performance. This is particularly beneficial when working with large files, high-resolution textures, or applying complex filters. If you’re meticulously following a Photoshop roof texture tutorial, enabling GPU acceleration can dramatically speed up your workflow.
Here’s how to enable it and understand its benefits:
- Step 1: Go to Preferences: First, open Photoshop and navigate to Edit > Preferences > Performance (on Windows) or Photoshop > Settings > Performance (on Mac).
- Step 2: Enable GPU: In the Performance dialog box, ensure the “Use Graphics Processor” option is checked. This tells Photoshop to leverage your computer’s dedicated GPU for faster processing of tasks like rendering, zooming, panning, and applying certain filters (e.g., Blur Gallery, Smart Sharpen).
- Step 3: Advanced GPU Settings: Click on “Advanced Settings” within the Performance preferences. Here, you can fine-tune how Photoshop uses your GPU. Ensure “Use OpenCL” or “Use DirectX” (depending on your OS/GPU) is enabled for certain accelerated features.
- Creative Cloud & Cloud Features: While “Cloud GPU” isn’t a direct setting, ensure your Creative Cloud desktop app is linked and active. Some Creative Cloud features or plugins might leverage cloud processing for very specific tasks, although the primary performance boost comes from your local GPU.
This GPU acceleration is particularly useful for tasks like rendering 3D elements (if you’re using Photoshop’s limited 3D capabilities), applying complex filters to your textures, or working with high-resolution images, which are common when perfecting a Photoshop roof texture tutorial.

Integrating Photoshop with Other Tools for a Seamless Workflow
Many digital artists and photographers utilize a suite of tools, and ensuring they work together seamlessly is vital. If you’re facing the common issue of Photoshop not populating for Lightroom, or experiencing other software integration problems, don’t worry—it’s a common problem with a few simple fixes that enhance your overall workflow.
- Check Software Versions: First, always ensure both Photoshop and any other linked Adobe applications (like Lightroom Classic) are updated to their latest versions. Outdated software is a frequent cause of compatibility issues and unexpected behavior. Use the Creative Cloud desktop app to manage updates.
- Reset Preferences: Sometimes, corrupted or conflicting preferences can cause communication breakdowns. In Photoshop, go to Edit > Preferences > General (Windows) or Photoshop > Settings > General (Mac), and click “Reset Preferences On Quit.” Relaunch Photoshop afterward. For Lightroom, resetting preferences can also help.
- Reinstall Plugins: If you rely on third-party plugins, check for corrupted or outdated versions. Reinstall or update them to ensure they’re working properly and are compatible with your current Photoshop version.
- Verify File Associations: Ensure your operating system correctly associates image files with Photoshop.
- Use Alternatives for Quick Edits: If the problem persists and you need a quick fix, consider using browser-based Photoshop alternatives like Photopea for basic edits, or explore other image editors while you troubleshoot your main setup. This issue is often caused by software conflicts or incorrect settings. By following these steps, you should be able to resolve it quickly and maintain a fluid workflow.
5. Advanced Texture & 3D Concepts: Future Skills for Digital Artists
While Photoshop excels at 2D image manipulation and powerful texture creation, it’s not a full-fledged 3D modeling application. However, understanding how the textures you create in Photoshop relate to true 3D environments is key for any digital artist.
Physically Based Rendering (PBR) Textures: The Standard for Realism
In modern 3D rendering (used in games, film, architectural visualization), PBR (Physically Based Rendering) is the gold standard for realism. PBR textures go beyond just a simple color image; they include multiple “maps” that define how light interacts with a surface:
- Albedo/Base Color Map: The primary color of the surface.
- Normal Map: Simulates surface bumps and dents without adding extra geometry.
- Roughness Map: Defines how rough or smooth a surface is, affecting light reflection.
- Metallic Map: Specifies whether a surface is metallic or dielectric.
- Ambient Occlusion (AO) Map: Creates subtle shadows in crevices.
While Photoshop can’t create complex 3D models with these maps, it is the primary tool for authoring and editing these individual texture maps. A Photoshop roof texture tutorial focused on creating the base color, normal, and roughness maps would be invaluable for artists building 3D environments in software like Blender, Maya, or Unreal Engine. This highlights Photoshop’s role as a powerful texture painting and editing hub for the 3D pipeline.
Custom Brushes for Advanced Texture Detailing
Beyond the basic tools, mastering custom brushes in Photoshop is crucial for adding nuanced, realistic details to any texture. You can create brushes that simulate:
- Moss and Dirt: Brushes with organic, scattered patterns.
- Cracks and Scratches: Fine-line brushes with varying opacity and flow.
- Water Stains or Weathering: Soft, diffused brushes with unique edge characteristics.
You can download thousands of custom brushes online or create your own from photos or hand-drawn elements. These allow you to quickly “paint in” imperfections and details that make your roof texture, or any other texture, truly unique and believable.
Conclusion: Master Photoshop for Unrivaled Texture Creation
Adobe Photoshop is an incredibly versatile and indispensable tool for any digital artist or designer, and mastering it takes dedicated time and consistent practice. Whether you’re learning how to create a Photoshop roof texture tutorial to add unparalleled realism to architectural visualizations, experimenting with Photoshop screen tones for a distinctive stylistic flair, or troubleshooting common issues like Photoshop not populating for Lightroom to ensure a seamless workflow, the tips and tutorials shared in this guide are designed to help you level up your skills significantly.
Don’t forget to actively explore and utilize powerful features like Photoshop’s GPU acceleration to boost your workflow, especially when dealing with high-resolution textures or complex projects. Remember, the true key to becoming a Photoshop pro is continuous experimentation, a willingness to learn new techniques, and persistently refining your craft. So, fire up Photoshop today, try out these techniques, and unleash your creativity to design compelling, lifelike digital textures and beyond!
“Understanding Photoshop Layers and Non-Destructive Editing”
“Optimizing Photoshop Performance for Large Files”
“Creating Custom Brushes in Photoshop”
“Introduction to Digital Painting in Photoshop”